The Document Routing Agent (DRA) is an application that resides on the Customer’s network, to act as a bridge between the internet-hosted Dynamics 365 (D365 F&O) system and Customer’s network printers.
DRA tool is Supported on Windows 8.1, Windows 10, Microsoft Windows Server 2012 R2, Microsoft Windows Server 2016, or Microsoft Windows Server 2019.
DRA run as either a desktop application or a Microsoft Windows service.
DRA as a Service can be configured to start automatically after a computer restart, so no user intervention is required. However, When the Document Routing Agent runs as a Windows service, document reports, such as checks, that require custom margins can’t be printed directly to network printers. Instead, the Document Routing Agent automatically routes those documents to a target folder.
DRA as a desktop application uses Adobe Reader to spool the document to the shared printer device chosen in finance and operations. Microsoft recommends installing the Document Routing Agent in several places to manage situations when documents with custom margins need to be printed. The printers for those documents should thus only be installed on Document Routing Agents that will operate in desktop application mode. As an alternative, you can pick up the files in the target directory and guide them in the right direction using a post-execution process.
Steps to Install & Configure DRA
Sign in to D365 F&O environment which you want to configure in the DRA tool.
- Go to Organization Administration–>Setup–>Network Printers
- Click on Download Document Routing Agent Installer.

3. Ensure that you are logged in as Admin user. Run the downloaded file and complete the setup.
4. Open the DRA tool and sign in with Admin account.

5. Click on Settings Button and enter values in all the fields.

6. If Run as Windows Service checkbox is checked, then DRA will run as a Service. To run as service, window service should be set up and running.
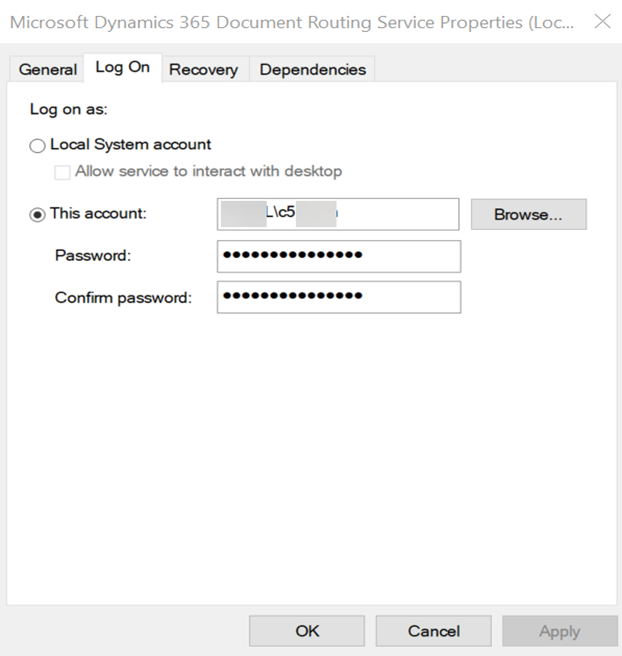
Right click on the highlighted Service and click on Properties.

Click on Log On tab and add your Admin/Service account.
Please note that step 6 is not required if running as an Application (Run as a window service checkbox is unchecked).
7. Start the service and go back to step 5 and Click on Printers.
Only printers which are registered will be visible in D365 F&O.

8. After registering a printer, go to D365 F&O (Organization Administration–>Setup–>Network Printers) and activate the printer.

9. Now, you can test it in your reports by using Network Printer as shown below (after printing to screen), or setting up the print management.

I had a requirement to test multiple network printers based on specific values, like if department is A the document should route to PrinterA, if department is B, it should go to PrinterB etc. This configuration was done in print management of report and I tested with dummy Printers and OneNote.
You can setup a dummy printer by going to Printers & Scanners.
- Click on Add a Printer or Scanner button.

- Click on ‘The printer that I want isn’t listed.’

- Select last option as below screenshot and click Next.

- Select Nul port and click Next.

- Select Microsoft Print to PDF and click Next


- Specify printer name and click Next.


Click on Open Queue of Printer and Pause Printing.

As mentioned earlier, you need to register the printer.
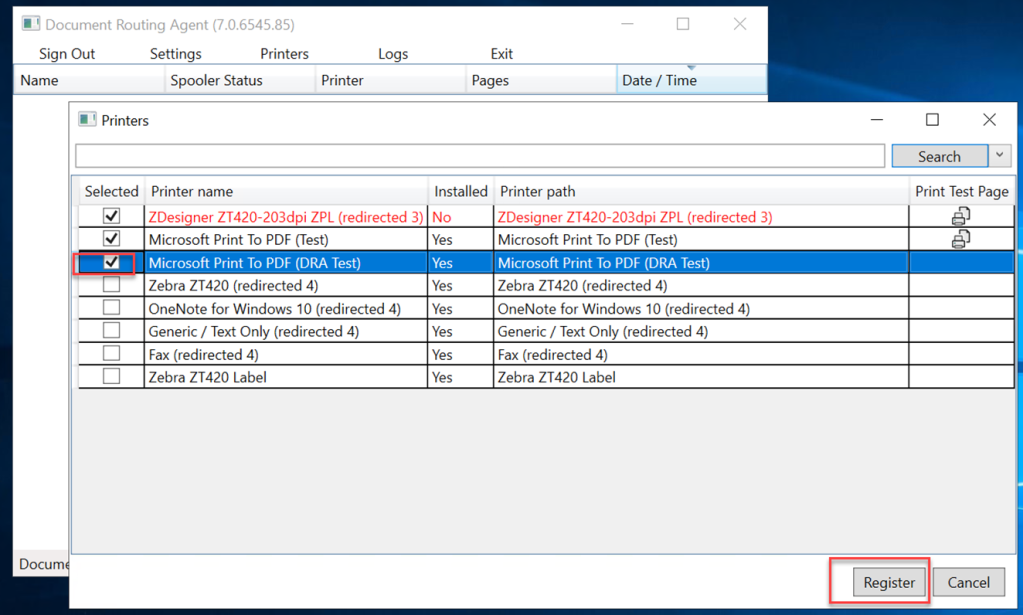
After registering the printer, it will be visible in D365 F&O. Activate the printer.

As you can see, After report is printed on screen, I can select my new printer.


The document will be visible in print queue.

Notes
- DRA is legal entity specific, so you have to setup the printers in all required legal entities.
- If you already have DRA tool, you might get below error for different versions.
To resolve this, you have to uninstall the DRA and install again.

Comments
Post a Comment